
You can get a taste of the opening chapter of Monster Hunter Stories 3: Twisted Reflection through the Trial Version. But the demo isn’t just a sampler for the story — it also quietly hides several rare boss monsters roaming the field under specific conditions. As the game doesn’t clearly explain how they appear, these hard-as-nail fights can be easy to miss unless you know what to look for. Here’s how to find every rare boss monster available in Monster Hunter Stories 3 Trial Version.
1. Anjanath
(Click to expand)
(Click to expand)
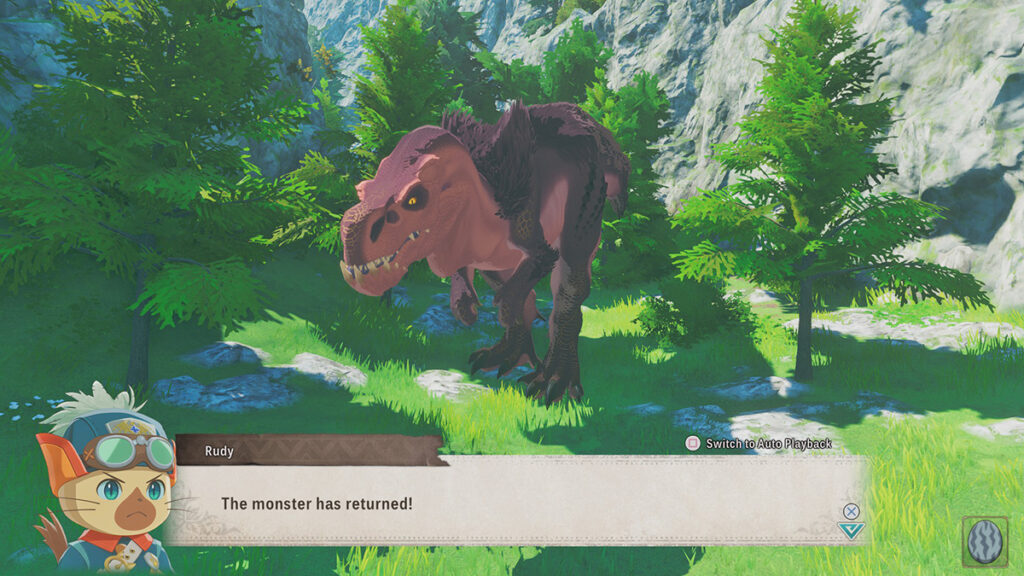
- Location: Randomly spawns in Rare Egg Dens; Broadleaf Basin.
- Level: 32.
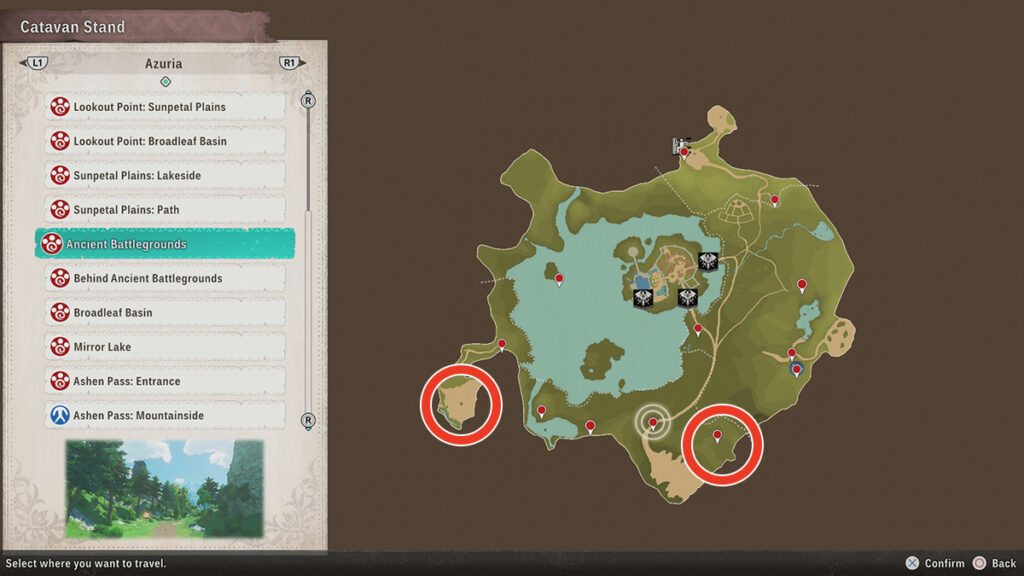
After you beat the Honed Glavenus story boss, head back to the Behind Ancient Battleground spot in Broadleaf Basin. You should be able to spot the fire-breathing T-rex roaming around. Another Anjanath will also show up in the left-most part of Broadleaf Basin.
Anjanath Stats
| Condition | Move Type | Elemental Weakness | Parts Weakness |
|---|---|---|---|
| Normal | Power (Fire) | – Water (++) – Ice (+) | – Main Body: All – Head: Pierce – Legs: Blunt – Tail: Slash |
| Enraged | Speed (Fire) | – Water (++) – Ice (+) | – Main Body: All – Head: Pierce – Legs: Blunt – Tail: Slash |
2. Espinas
(Click to expand)
(Click to expand)
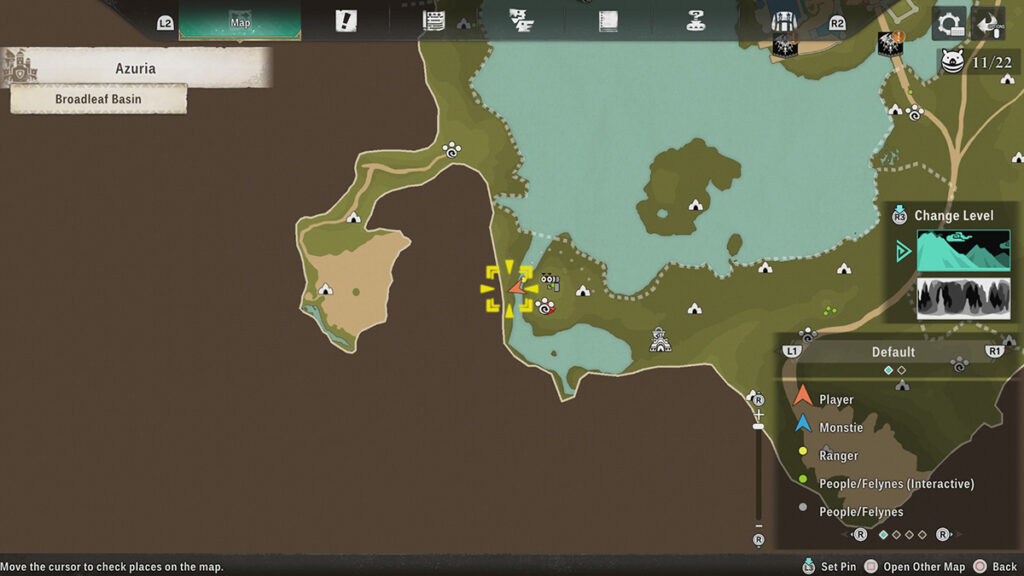
- Location: Randomly spawns in Rare Egg Dens; Broadleaf Basin.
- Level: 44.
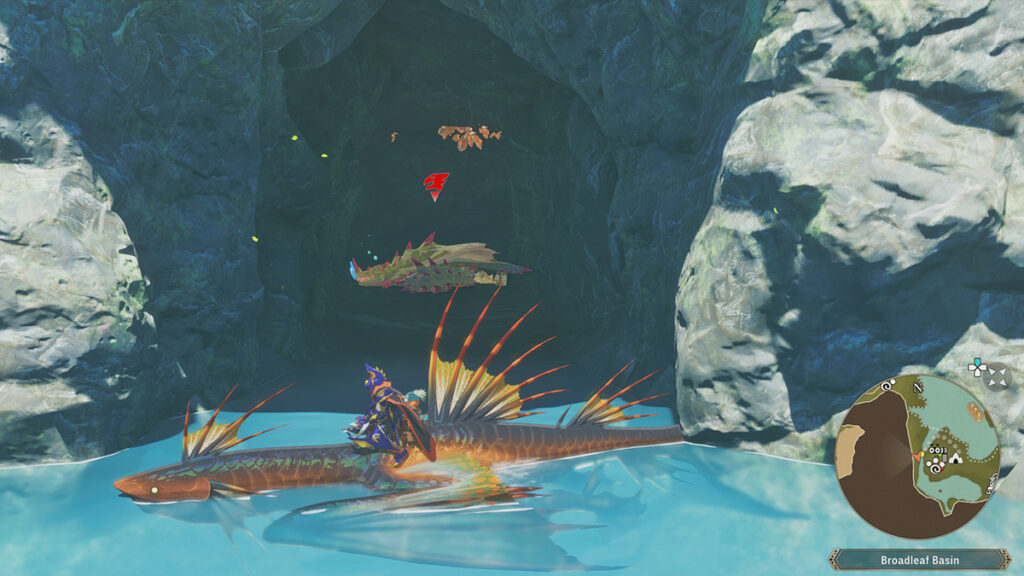
Similar to Anjanath, the running tank Flying Wyvern can appear randomly in Egg Dens. However, it also shows up in one particular spot. You can find a sleeping Espinas hidden inside a cave close to Lookout Point: Broadleaf Basin Catavan. Note that behind it lies a Poogie; you’ll want to get back in there once you’ve unlocked better gear and Monsties in the full game.
Technically, you can beat the sleeping Espinas with a proper setup. Before it awakens, you’ll want to inflict status like Paralysis and buff your team with skills that increase evade chances. Then you’ll want to keep up the pressure through tick damage from Burn and/or Noxious Poison. However, the huge level difference will make this a very tough fight.
Espinas Stats
| Condition | Move Type | Elemental Weakness | Parts Weakness |
|---|---|---|---|
| Normal | Power (Fire) | – Dragon (++) | – Main Body: All – Head: Blunt – Legs: Pierce – Tail: Slash |
| Enraged | Speed (Fire) | – Ice (++) – Dragon (++) | – Main Body: All – Head: Blunt – Legs: Pierce – Tail: Slash |
| Sleep | Power (Fire) | Resists everything | – Main Body: All – Head: Blunt – Legs: Pierce – Tail: Slash |
3. Namielle

(Click to expand)
(Click to expand)
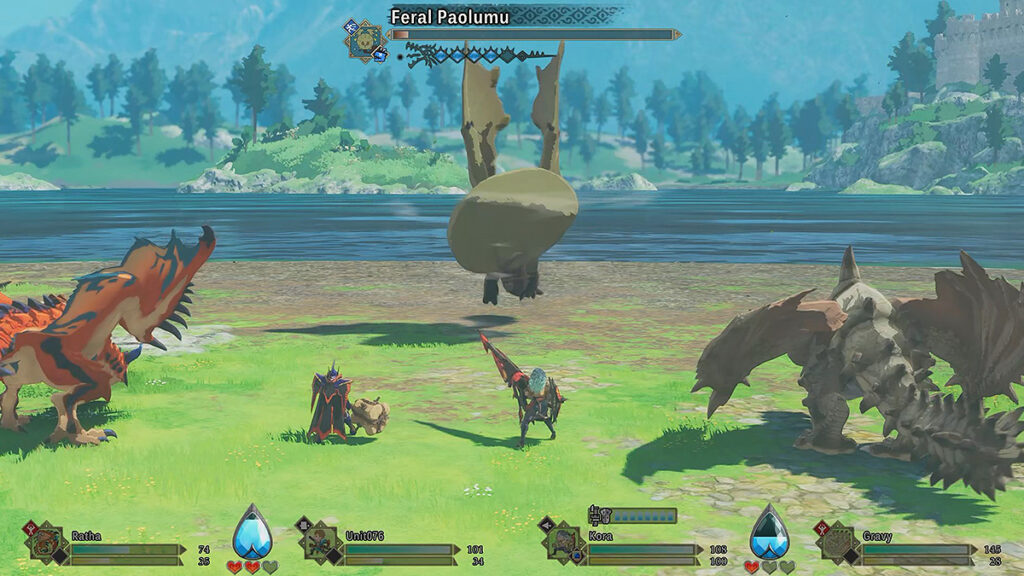
- Location: Mirror Lake, under a special condition.
- Level: 72.
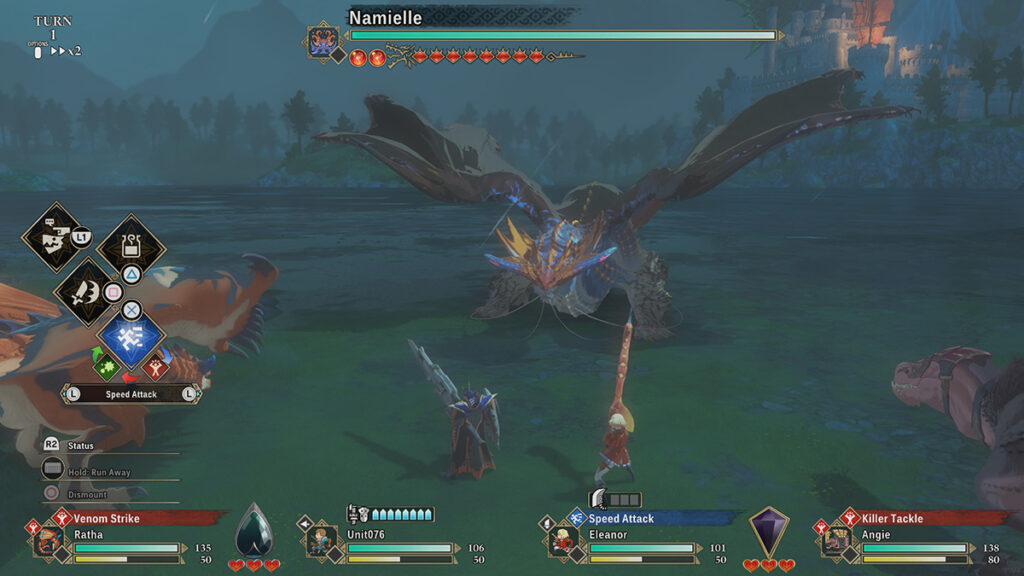
Namielle only appears under a special condition at Night, which randomly triggers after any battle — win or lose. When it activates, a cutscene plays, and an electric whirlpool forms in the center of Mirror Lake. That’s your cue that the Elder Dragon has spawned.
It’s weak to Fire and Ice, but don’t expect a fair fight. Most of Namielle’s attacks are one-shots, as it frequently uses AOE moves that deal around 900 damage. Thankfully, losing still rewards you. After defeating your party, Namielle leaves behind 1 Namielle Hide at Mirror Lake. Yes, that means you can craft all:
- Hydra Ephyra Gunlance.
- Hydra Planula Bow.
- Hydros Horn.
- Tentacle Armor.
Even in the Trial Version, simply by repeatedly triggering the encounter, as each gear only costs 3 Namielle Hides.
To farm the Hides efficiently, change the time of day to Night at a Catavan, then wait until it’s dark. Afterward, all you have to do is hunt weak monsters like Aptonoths, Bnahabras, and Velociprey. Usually, the Elder Dragon appears after about 5-8 battles.
Namielle Stats
| Condition | Move Type | Elemental Weakness | Parts Weakness |
|---|---|---|---|
| Water Mantle | Technical (Water) | – Fire (++) – Ice (+) | – Main Body: All – Head: Blunt – Wings: Pierce – Tail: Slash |
| Abyssal Charge | Speed (Water) | – Fire (++) – Ice (+) | – Main Body: All – Head: Blunt – Wings: Pierce – Tail: Slash |
4. Feral Paolumu
(Click to expand)
(Click to expand)
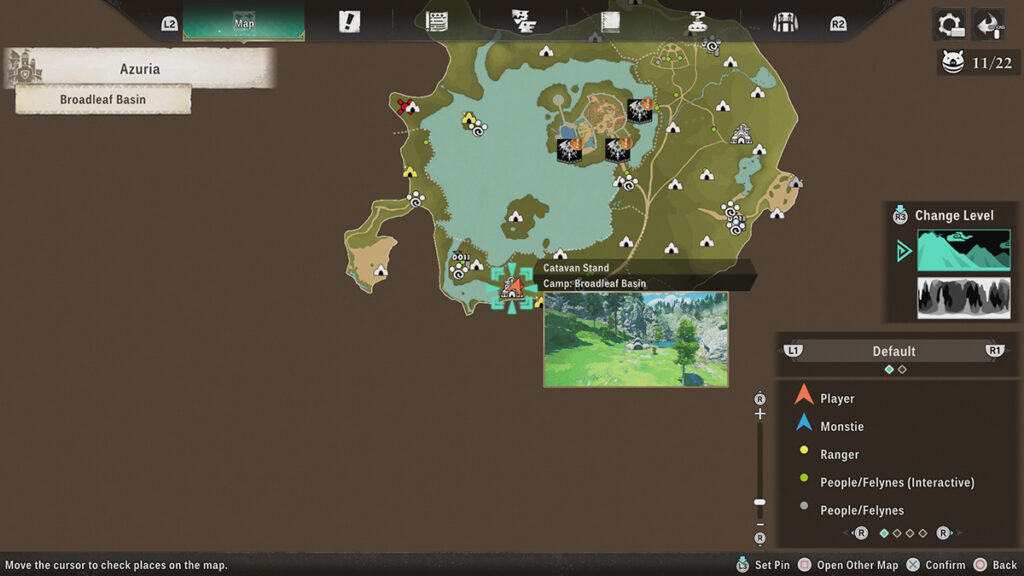
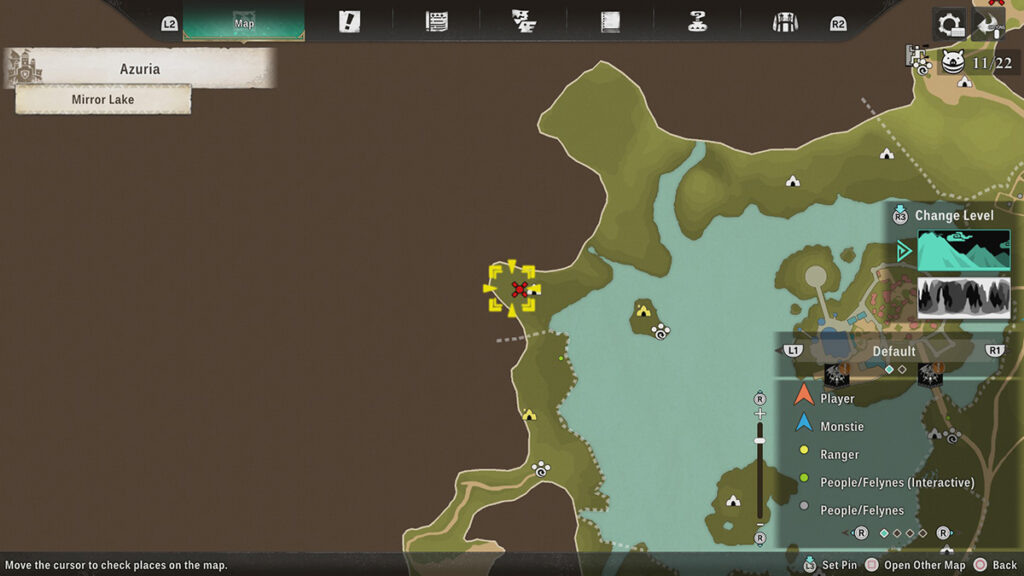
- Location: Broadleaf Basin.
- Level: 12.
The most doable rare boss fight in Monster Hunter Stories 3 Trial Version. Beat Invasive Yian Garuga and head to the northern part of Azuria to find it. We suggest bringing along either Eleanor or Kora; although we prefer the latter, as her Gunlance skills can pull aggro. Then equip your best Fire or Raw weapons, such as the Level 2 Bone Hammer. Feral Paolumu’s counter can inflict nasty damage, but with enough Potions and patience, you should be able to beat it.
Just like with taking care of the Invasive Yian Garuga, defeating Feral Paolumu will unlock new Camp Site and Habitat Restoration options.
Feral Paolumu Stats
| Condition | Move Type | Elemental Weakness | Parts Weakness |
|---|---|---|---|
| Normal | Technical (Thunder) | – Fire (++) | – Main Body: All – Head: Blunt – Torso: Slash |
| Airborne | Speed (Thunder) | – Fire (++) | – Main Body: All – Head: Blunt – Pouch: Pierce |
5. Feral Nerscylla
(Click to expand)
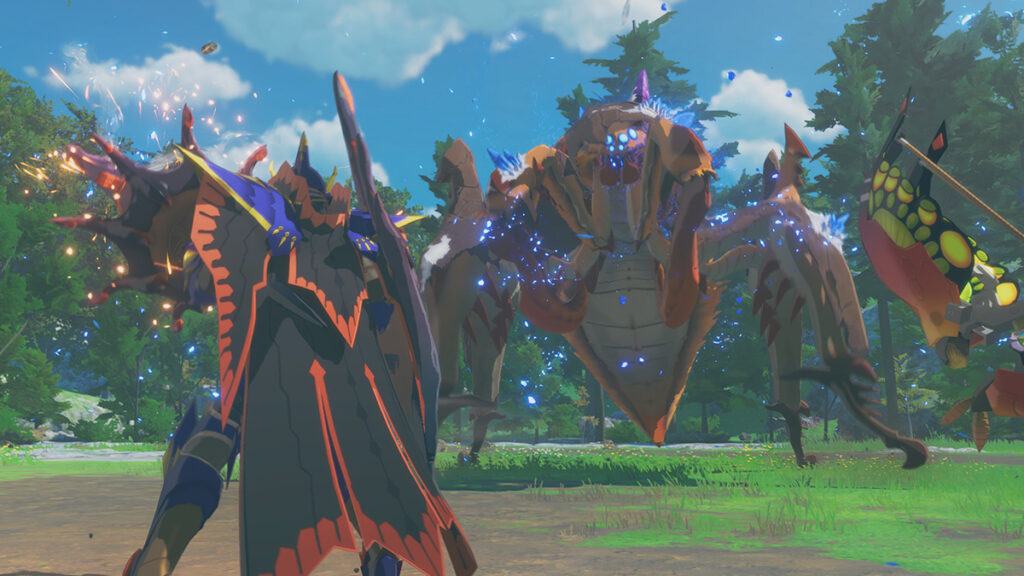
(Click to expand)
- Location: Mirror Lake.
- Level: 24.
Head to the western-most part of the map; you’ll need Monsties that can Swim and Fly to reach the spot. Equip your Prince with your best Fire resist gear and Monsties, as well as your most powerful Water weapons. Ogden and his Pukei-Pukei can be a lifesaver thanks to their Hunting Horn buffs and Poison damage.
Nevertheless, similar to fighting Espinas and Anjanath, chipping away at Feral Nerscylla’s health takes a lot of RNG and luck. So far, we’ve only managed to get it down to around 60% health — and that’s with Namielle gear!
Feral Nerscylla Stats
| Condition | Move Type | Elemental Weakness | Parts Weakness |
|---|---|---|---|
| Normal | Technical (Fire) | – Water (++) – Ice (+) | – Main Body: All – Head: Blunt – Needle: Pierce – Legs: Slash |
| Enraged | Power (Fire) | – Water (++) – Ice (+) | – Main Body: All – Head: Blunt – Needle: Pierce – Legs: Slash |
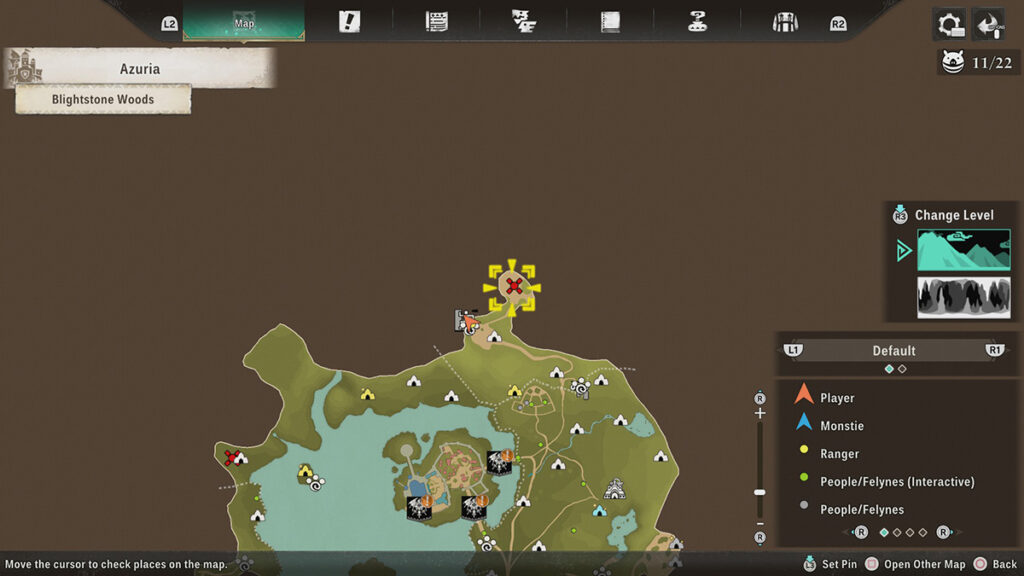
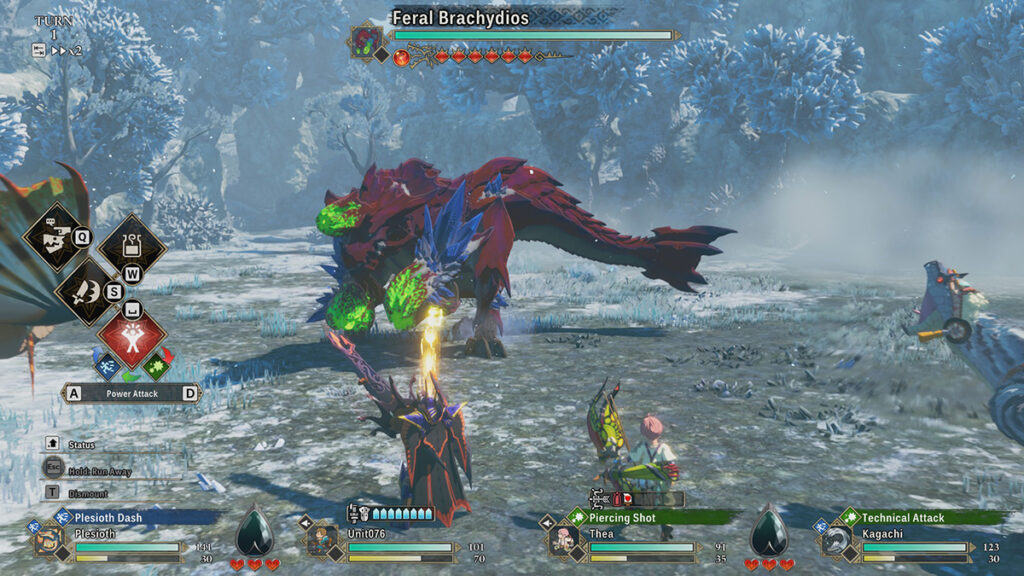
6. Feral Brachydios
(Click to expand)
(Click to expand)
- Location: Blightstone Woods.
- Level: 44.
The last Feral boss in Azuria, at least the ones known so far in Monster Hunter Stories 3 Trial Version. Teleport to the Ashen Pass: Entrance Catavan, then take a left past the roaming Blue Yian Kut-Ku. You can’t miss the hulking red monstrosity residing in the Blightstone-filled area.
Just like Namielle, expect extremely heavy resistance. Its party-wide slime will make mincemeat out of you.
Feral Brachydios Stats
| Condition | Move Type | Elemental Weakness | Parts Weakness |
|---|---|---|---|
| Normal | Power (Dragon) | – Thunder (++) – Water (+) | – Main Body: All – Head (Slime): Blunt – Forelegs (Slime): Pierce – Legs: Slash |
| Slime Active | Speed (Dragon) | – Thunder (++) – Water (+) | – Main Body: All – Head (Slime): Blunt – Forelegs (Slime): Pierce – Legs: Slash |
7. Barrel Felyne
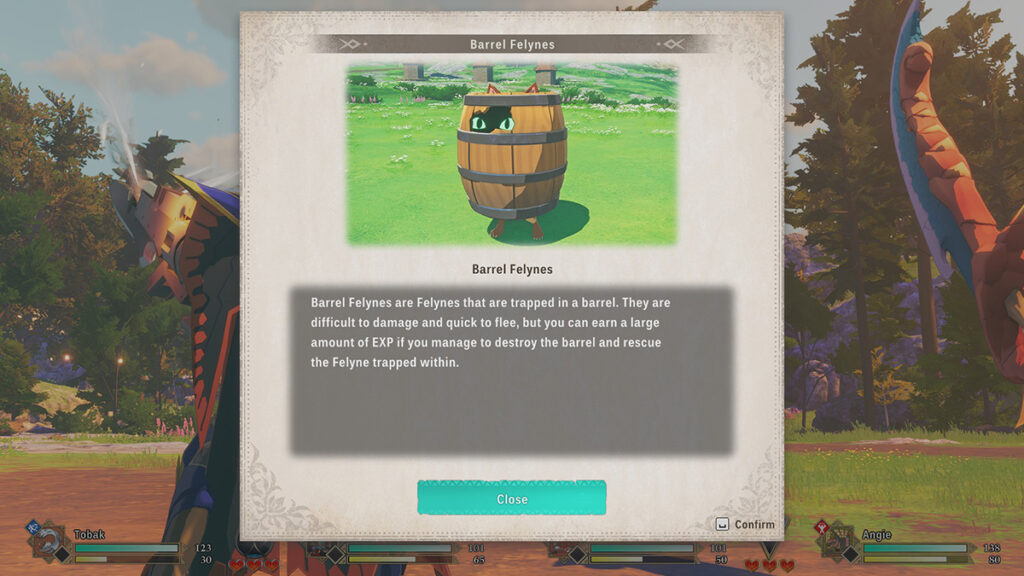
- Location: Random spawn.
- Level: ???.
- Weakness: Barrel Bomb.
This “monster” can randomly appear anywhere in Azuria, though the spawn rate is extremely low. It barely takes damage from normal attacks, so don’t bother fighting it the usual way. Instead, you’ll want to blow it up with a Barrel Bomb.
Unfortunately, Barrel Bombs can’t be crafted in the Trial Version. Even worse, the only reward for beating it is a massive chunk of EXP. Considering the demo’s limitations, it’s best to ignore Barrel Felynes for now and wait for the full release.