

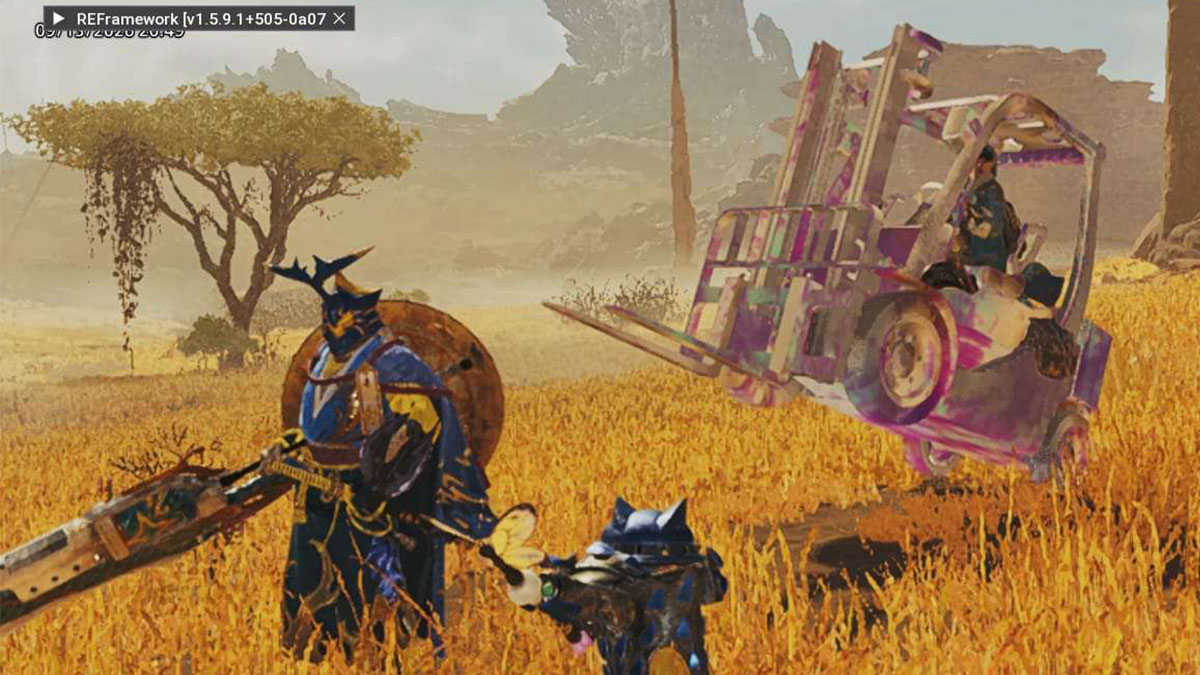
Modding Monster Hunter Wilds on a Windows PC is pretty straightforward, but less so on a Linux-based Steam Deck. Although it’s not exactly drag-and-drop or copy-paste, getting your favorite mods running on Valve’s handheld isn’t as complicated as it sounds. Here’s how to set up the necessary framework and start changing the looks of everything inside Forbidden Lands on a Deck.
Installing REFramework on Steam Deck
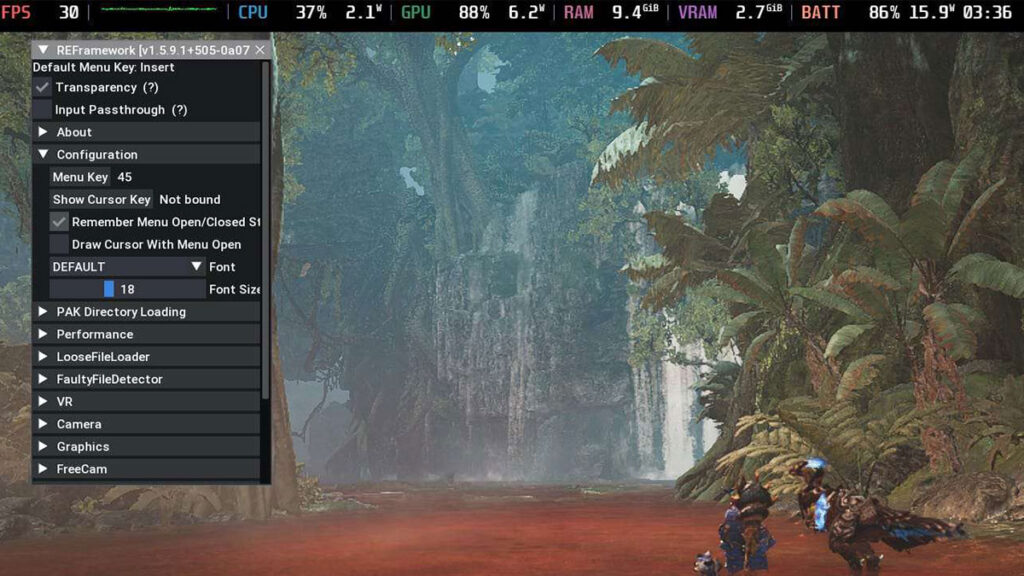
First, switch your Steam Deck to Desktop Mode and download REFramework from GitHub. Make sure to grab the Nightly version, as the standard release is outdated and will cause Monster Hunter Wilds to crash.
Extract the downloaded ZIP and copy dinput8.dll into the Monster Hunter Wilds Steam installation directory. You can quickly find the folder by opening Steam, right-clicking Monster Hunter Wilds, then selecting Properties > Installed Files > Browse.
REFramework’s menu should automatically appear on the top left of your screen when launching the game. To close or minimize it, hold the Steam button and use the trackpad to activate the mouse cursor. From there, simply click the minimize or close button. Alternatively, you can assign the Insert key to one of your Steam Deck’s inputs for easier access to disabling/enabling the REFramework menu. You can also set up the “Remember Menu Open/Closed Status” default behavior in REFramework’s Configuration menu.
Installing and Running Fluffy Mod Manager on Steam Deck
(Click to expand)
(Click to expand)
- Download Fluffy Mod Manager 5000 from the FluffyQuack website, then extract the modmanager.zip file.
- Since SteamOS is Linux-based, you can’t simply double-click the application and expect it to work. First, add Fluffy’s Modmanager.exe to your Steam library as a Non-Steam Game.
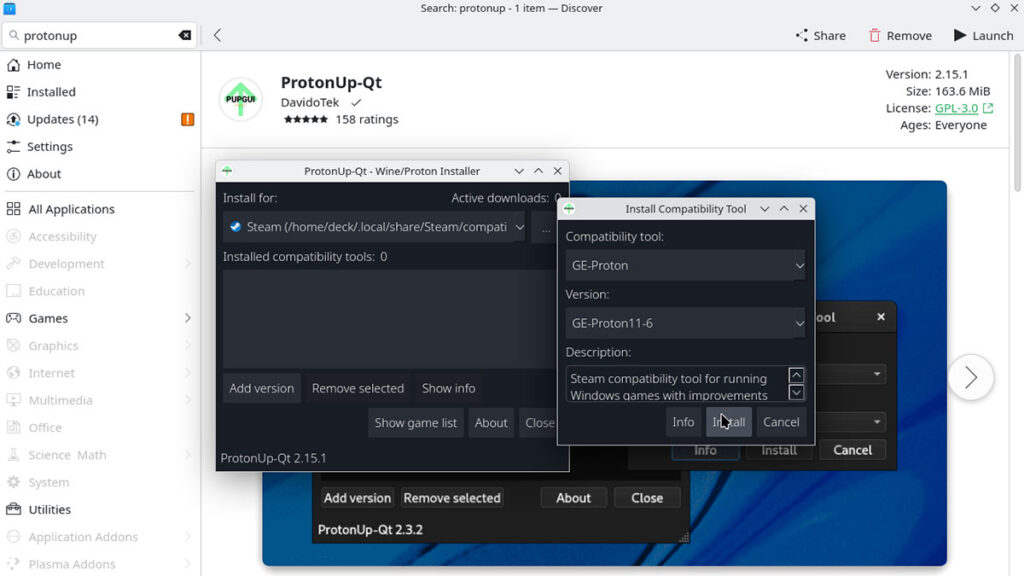
- Then, open the Discover app through the desktop taskbar and search for “ProtonUp-Qt.” Download it, then launch the app by pressing the “Launch” button at the top-right of the window.
- Inside ProtonUp-Qt, press “Add Version” and select “GE-Proton” as the Compatibility Tool. Pick the latest available version, then click Install.
- Select the installed “GE-Proton” branch and press “Show Game List.” Find the Modmanager.exe entry, then select the GE-Proton version you just installed under Compatibility Tool. Apply the change and close ProtonUp-Qt.
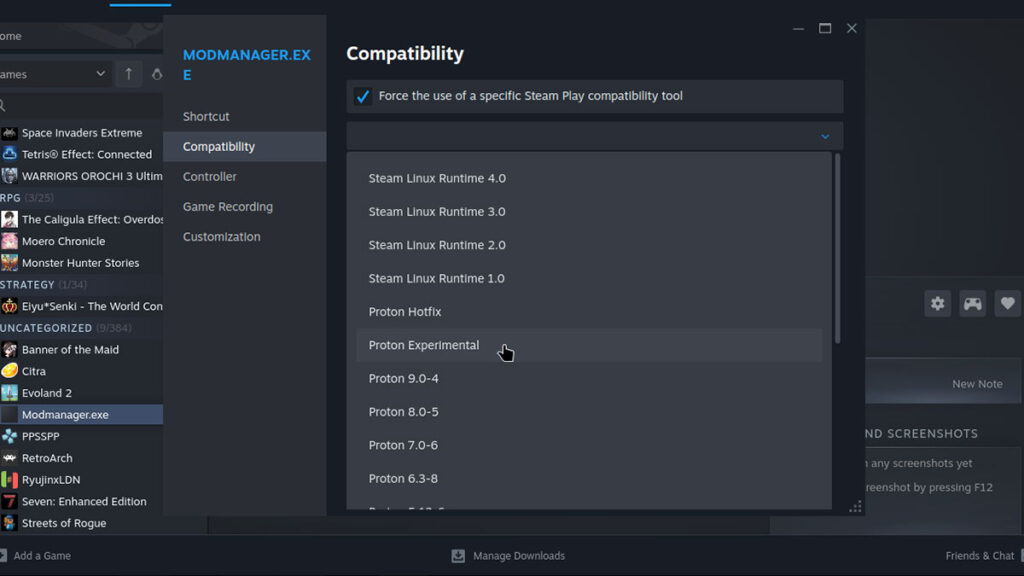
- Open Steam again and left-click the Modmanager.exe entry. Press the gear icon, then open Properties.
- Select “Compatibility” and tick “Force the use of a specific Steam Play compatibility tool. “From the drop-down menu, pick “Proton Experimental.”
- Finally, run Modmanager.exe through Steam to launch Fluffy Mod Manager. Once it’s open, select Monster Hunter Wilds from the game selection screen.
Installing MH Wilds Mods on Steam Deck
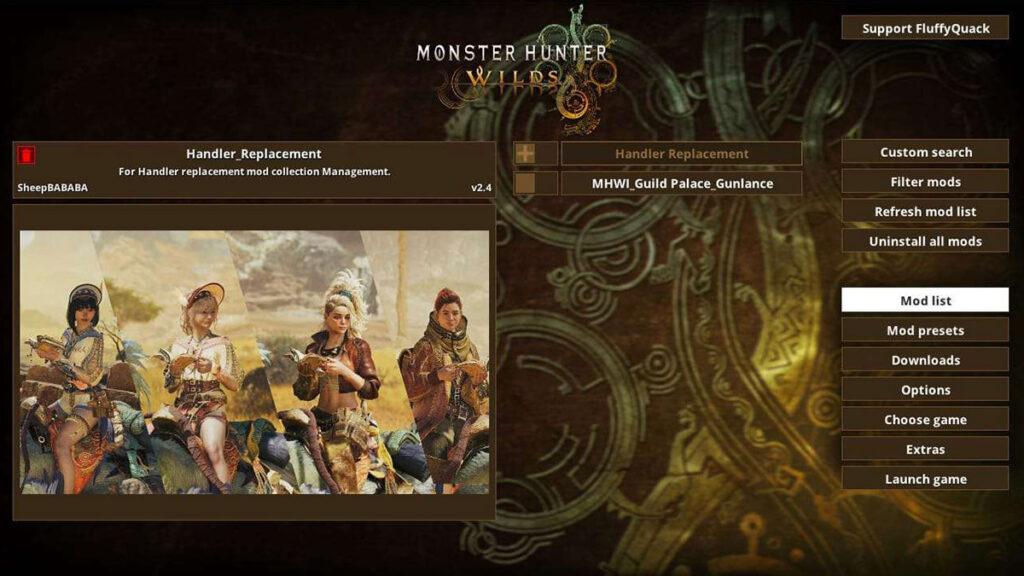
Now, with REFramework and Fluffy Mod Manager up and running, you’re finally through the hard part. Now you can start installing the actual Monster Hunter Wilds mods just like on any Windows PC. Head over to NexusMods, create an account or log in, find the mods you want, and download their files manually.
Add them to Fluffy Mod Manager by dragging the mod ZIP files to the Mod Manager window. Or you can copy the files into the Games > MonsterHunterWilds > Mods directory of your Fluffy folder.
Open Fluffy Mod Manager afterward and check the box beside each mod you want to activate. For our testing, we deliberately picked visual mods with immediately noticeable changes. Those include Change Handler to Felicita, Iceborne‘s Guild Palace Gunlance Skin, and Forklift Seikret, as seen in this guide’s main image.
Once they’re enabled, launch Monster Hunter Wilds normally and check whether your changes appear in-game. If everything is working, that’s basically it; your Steam Deck is now ready for modded hunts. Just remember that major game updates can occasionally break REFramework or individual mods. So if your Monster Hunter Wilds suddenly starts crashing after a patch, outdated REFramework dinput8.dll and mods should be among the first suspects.
