


Gogmazios, the towering tar-soaked Elder Dragon first feared in 4 Ultimate, returns as one of Monster Hunter Wilds‘ most destructive endgame threats. This colossal behemoth weaponizes fire, oil, and sheer mass to overwhelm any Hunters who aren’t prepared. Its explosive tar coating can quickly spiral a hunt out of control. In this guide, we’ll break down essential strategies, key mechanics, and the gear you’ll need to bring Gogmazios crashing down.
How to Unlock Gogmazios and Fight Strategy in Monster Hunter Wilds
Before you can face the Specter of War, you need to reach certain prerequisites first:
- You have to reach HR100.
- You have completed the “A First Cry” Main Mission.
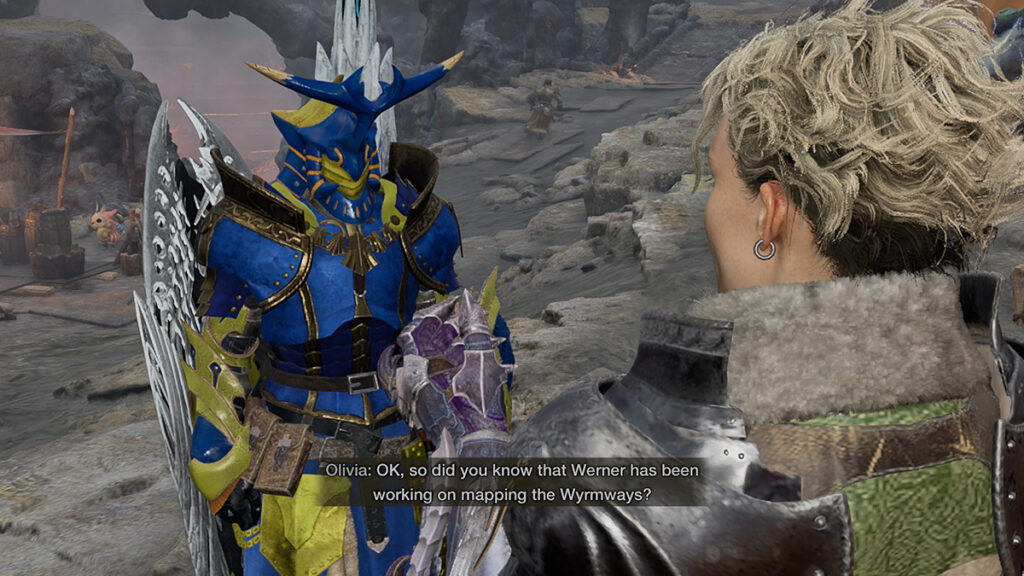
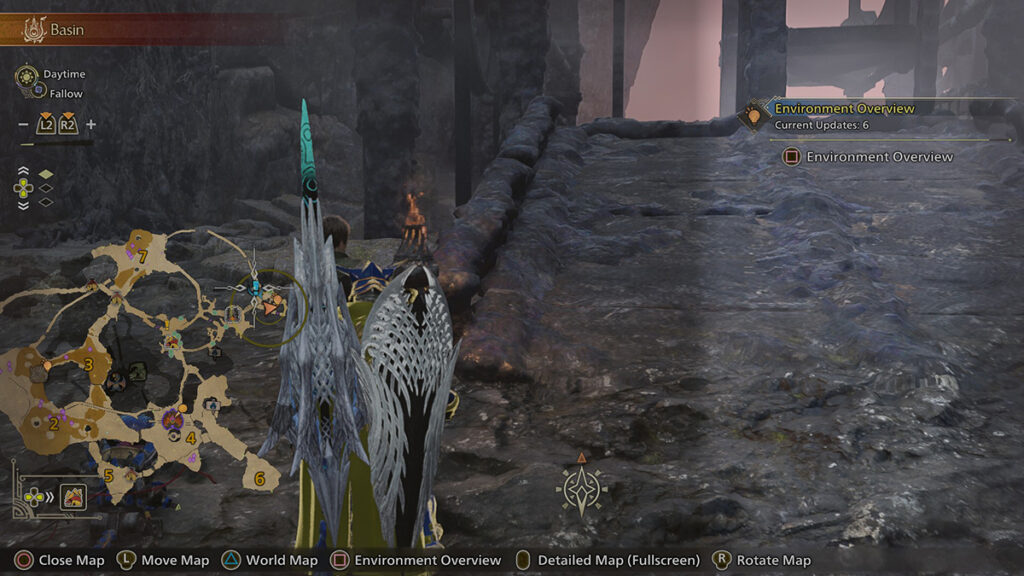
Start the Gogmazios questline by heading to the Oilwell Basin and speaking with Olivia; this will trigger Extra Mission 6 “An Ancient Resting Place.” Keep following the objectives until you fight the Elder Dragon and complete Extra Mission 7 “Ghosts Pay No Heed to Tomorrow.”
After you’ve done the Assigned Quest, Gogmazios can be fought again through the “Specter of Their Sins” ★9 Event Quest.
Phase 1 Strategy
During this phase, all you have to do is just keep hitting Gogmazios’ wingarms, head, and tail using Fire weapons. Be careful of the Drakesbone Oil dripping, which will slow you down like walking in water or oil.
Sometimes, Gogmazios will attack Fabius and the Support Hunter team on the higher platform with a stream of tar. Use this moment to damage its head. On the ceiling in the middle of the arena, there’s a rock that you can drop for a whopping 4,100 damage. There are also fire plumes on the ground that can be activated using Torch Pods for additional ticks of 2,000 damage.
After some time has passed, the Elder Dragon will turn the floor into lava. Head to the upper platform where Fabius is to start the second phase. Do keep in mind that the lava floor will deal continuous damage even if you’ve drunk a Cold Drink.
Phase 2 Strategy

In the second phase, Gogmazios will cling to the edge of the platform. Your main target here is the wingarms; which, after taking enough damage, will topple Gogmazios. You can immediately start the fight by dropping the rock above its head for a free 4,000 damage, or wait until it starts attacking to flinch it as well. To the left side of the platform, there are also three Blastcoat Chunks that you can throw at Gogmazios for 525 Fire damage each.
Be cautious of its tar attacks, as leftover oil will eventually heat up and explode. These can be guarded, but will do a decent amount of chip damage. Toppling Gogmazios will let you attack its back. Break the back twice, and the Elderbreaker weapon will fall off its body.
The Elderbreaker will need to be charged using Wyvern Milk Energy taken from the rope-like Loose Nexus. There are three nodes that you can pull and connect to the Elderbreaker. Although Support Hunters will also try to connect the Nexus, it would be faster to at least assign two player Hunters to do the job.
Once all three are connected, you can immediately fire the Elderbreaker for 31,345 damage, or wait until the barrel is fully charged for a massive 67,600 damage. Don’t forget that you might need to adjust the Elderbreaker position by pushing or pulling the cannon from its side.
Aside from the Elderbreaker, there’s also a lever for a forge contraption that you can pull at the right side of the platform for a free 8,200 damage. If you have trouble waiting for Gogmazios to move to the front of the contraption, pull the lever right when it starts trashing about before it flies away.
Phase 3 Strategy
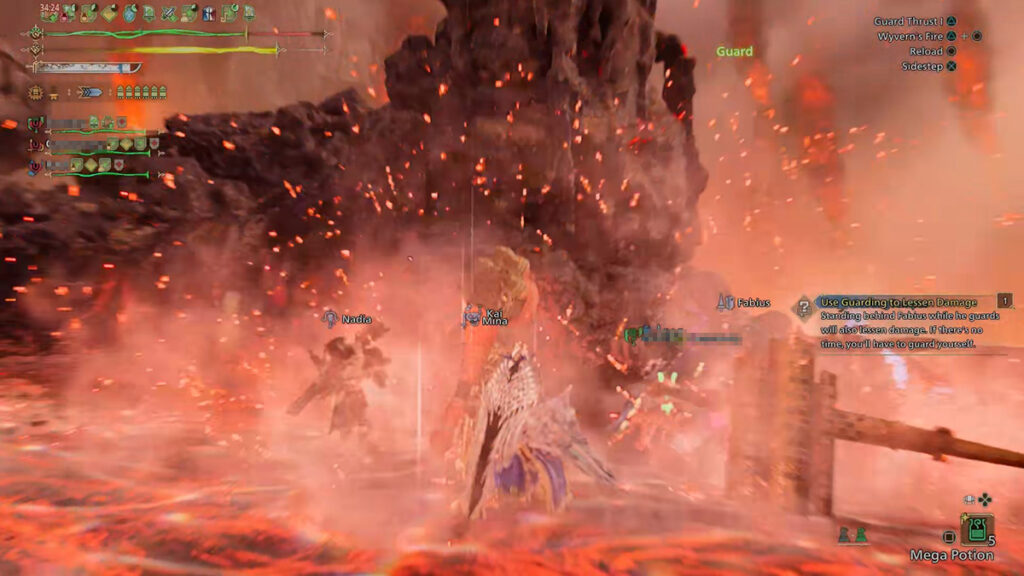
Gogmazios will run away to the top of the map into a new arena. Here, the Elder Dragon will fly often and shoot extremely dangerous exploding tar down below at you and your teammates. During these moments, you will have to shoot the Compact Anti-Wyvern Gun Slinger Ammo at it to whittle its defenses down.
Charge the Slinger Ammo to deal bigger damage. The ammo can often be found on the ground or on Gogmazios’s body when its oil layer has been softened.
There are also two rock towers on each end of the arena that you can drop on Gogmazios while it’s flying. Getting hit by them will make it take 4,100 damage and immediately topple it. Baiting the monster into the rocks can be hard, but keep an eye on the red aggro line that appears before it does its wingarm attack.
After taking enough damage, Gogmazios will start charging up its supernova or ultimate attack. Nadia will say, “Now it’s time to go on the offensive,” and Kai will follow up with, “Now! Hit it with everything!” Keep attacking it until Fabius tells you to hide behind him.
You can actually hide behind Fabius, guard the attack yourself if you slotted in a Guard Up, or climb up the two platforms at the edge of the arena. Gogmazios’s supernova can be tanked if you have enough Fire defense, have Moxie active, or have your friends heal you fast enough. But those methods can be a bit finicky, so we suggest you just hide yourself from the attack.
Keep at it, chop off its tail, and you should be able to best the Giant Halberd Dragon.
Gogmazios Monster Hunter Wilds Attacks
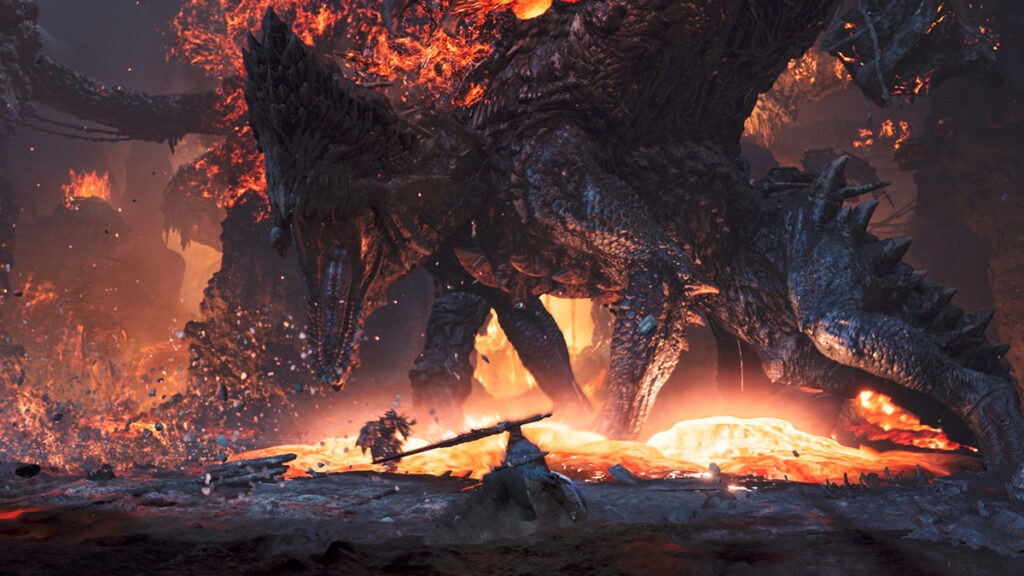
Oil Phase Mechanic: Gogmazios’s body is covered in flammable black tar or oil. Use Fire element weapons until a notification/shout out tells you it’s time to switch to Dragon weapon and vice-versa.
- When its body starts to drip more oil, that means the tar layer has softened, and Dragon attack is more effective.
- If Nadia says, “It’s softened up now,” it means you can switch to Dragon.
- If your Hunter says, “This weapon isn’t likely to have much effect now,” it means you should switch to Fire.
Tar Stream: Gogmazios’s mouth will be dripping with oil. And then it shoots out a stream of tar, in a straight line or a wide arc, from its mouth. Do note that leftover oil/tar will heat up and explode in the second and third phases.
Body and Wing Slam: Gogmazios pulls back its whole body and slams down into the ground. As the attack includes its wingarms, it has quite a wide area of effect. It tracks to a random player.
360 Body Swipe: Similar to Gore Magala, Gogmazios can do a 360 swipe move, dealing damage with its legs and flaming tail.
Frontal Bite: Gogmazios focuses on a player in front of it and does a quick, short lunge.
Flying Wingarm Swipe: Like Rey Dau, Gogmazios can utilize its wingarms to scrape the ground, attacking its prey while it’s flying.
Ultimate Attack: Gogmazios charges up its supernova, resulting in fountain-like explosions all over the arena. Keep attacking while it’s charging then hide behind Fabius.
Gogmazios Weak Points and Elemental Weaknesses in Monster Hunter Wilds
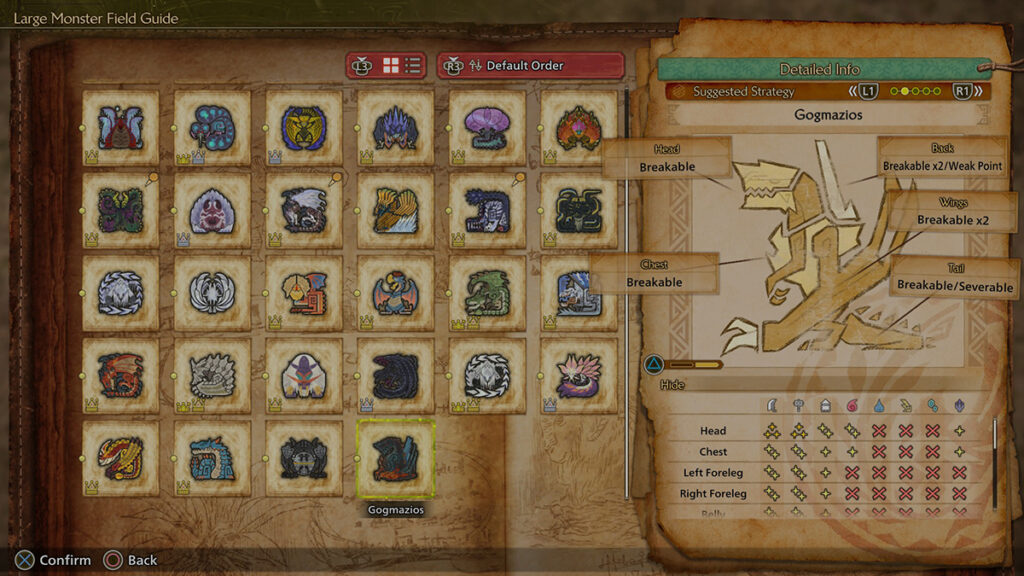
As expected of the first Elder Dragon in Monster Hunter Wilds, Gogmazios is one monster to be reckoned with. It starts the quest covered in a layer of tar, which needs Fire weapons to scrape off. Then you will have to switch to a Dragon weapon to finally damage the skin and flesh of the monster.
Worse, Gogmazios can spill off and shoot thick tars that slow you down and explode, dealing massive damage. We’ve included a table so you can see which weapons to bring and which parts receive the most damage.
- Gogmazios can be mounted.
- Strong Roar: Needs Earplugs Lvl 3.
- Minor Tremor: Needs Tremor Resistance Lvl 1.
- Fireblight: Needs Fire Resistance +20.
- Recommended Elemental Attacks:
- Fire during the first and second phases.
- Dragon during some parts of the first phase and the entirety of the third phase.
Effective Status Effects
| Status | Effectiveness |
|---|---|
| Poison | N/A |
| Sleep | N/A |
| Paralysis | N/A |
| Blastblight | ★★ |
| Stun | ★ |
| Exhaust | N/A |
- Effective Items: N/A.
Breakable Parts and Weakness Per Monster Part
- Head.
- Chest.
- Back x2.
- Wings.
- Tail can be severed.
| Slash Damage | Blunt Damage | Pierce Damage | Fire | Water | Thunder | Ice | Dragon | |
| Head | ★★★ | ★★★ | ★★ | ★★ | X | X | X | ★ |
| Chest | ★★ | ★★ | ★ | ★ | X | X | X | ★ |
| Left Foreleg | ★★ | ★★ | ★ | X | X | X | X | ★ |
| Right Foreleg | ★★ | ★★ | ★ | X | X | X | X | ★ |
| Belly | ★★ | ★★ | ★ | X | X | X | X | X |
| Back | ★★ | ★★ | ★★ | ★ | X | X | X | ★★ |
| Left Wingarm | ★★★ | ★★★ | ★★ | ★★ | X | X | X | ★ |
| Right Wingarm | ★★★ | ★★★ | ★★ | ★★ | X | X | X | ★ |
| Left Hindleg | ★★ | ★★ | ★ | X | X | X | X | X |
| Right Hindleg | ★★ | ★★ | ★ | X | X | X | X | X |
| Tail | ★★ | ★★ | ★★ | ★★★ | X | X | X | ★ |
| Tail Tip | ★★ | ★★ | ★ | ★ | X | X | X | ★ |
Gogmazios Loot Table in Monster Hunter Wilds
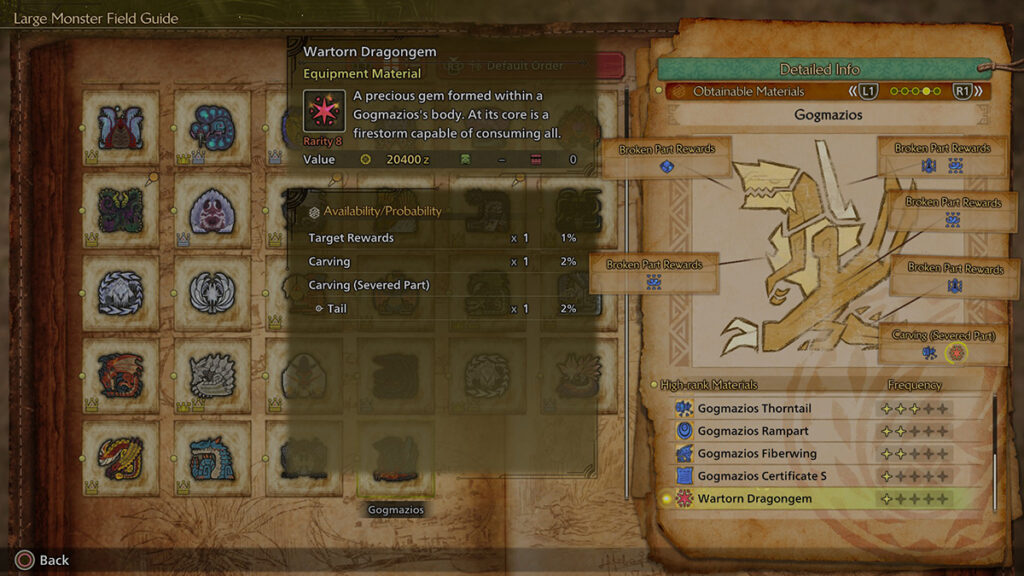
For those farming this monster, here’s the full loot table for Gogmazios in High Rank of Monster Hunter Wilds.
High Rank Loot Table
| Target Rewards | Broken Part Rewards | Carving | Wound Destroyed | |
| Mutated Armament | N/A | All Parts: 100% | N/A | N/A |
| Heavy Drakesbone Oil | 15% | Back: 100% Tail: 100% | 15% | 20% |
| Gogmazios Shredders | 6% | Left Wingarm: 100% Right Wingarm: 100% | 8% | N/A |
| Gogmazios Lacerator | 6% | Chest: 100% Back: 100% | 8% | N/A |
| Gogmazios Fortalice | 10% | Head: 100% | 12% | N/A |
| Gogmazios Thorntail | 10% | N/A | 10 Severed Tail: 98% | N/A |
| Gogmazios Rampart | 23% | N/A | 24% | 40% |
| Gogmazios Fiberwing | 21% | N/A | 21% | 40% |
| Gogmazios Certificate S | 8% | N/A | N/A | N/A |
| Wartorn Dragongem | 1% | N/A | 2% Severed Tail: 2% | N/A |
Craftable Items

Last but not least, here’s the complete list of every Gogmazios-related item in Monster Hunter Wilds.
| Item | Parts | Perks |
|---|---|---|
| Armor Set (High Rank Alpha) | Gogmazios Rampart x13 Gogmazios Fortalice x4 Gogmazios Fiberwing x11 Heavy Drakesbone Oil x9 Gogmazios Lacerator x5 Gogmazios Thorntail x4 Gogmazios Shredder x5 Gogmazios Certificate S x5 Wartorn Dragongem x2 | – Peak Performance Lv5 – Elemental Absorption lv2 – Adrenaline Rush Lv2 – Speed Eating Lv2 – Aquatic/Oilslit Mobility Lv1 – Maximum Might Lv2 – Agitator Lv2 – Burst Lv2 Group Skill: – Gogmapocalypse – Zoh Shia’s Pulse – Fulgur Anjanath’s Will – Ebony Odogaron’s Power – Doshaguma’s Might |
| Armor Set (High Rank Beta) | Gogmazios Rampart x13 Gogmazios Fortalice x4 Gogmazios Fiberwing x11 Heavy Drakesbone Oil x9 Gogmazios Lacerator x5 Gogmazios Thorntail x4 Gogmazios Shredder x5 Gogmazios Certificate S x5 Wartorn Dragongem x2 | – Peak Performance Lv5 – Elemental Absorption lv2 – Adrenaline Rush Lv2 – Speed Eating Lv2 – Aquatic/Oilslit Mobility Lv1 – Maximum Might Lv2 – Agitator Lv2 – Burst Lv2 Group Skill: – Gogmapocalypse – Guardian Arkveld’s Vitality – Blangonga’s Spirit – Mizutsune’s Prowess – Gravios’s Protection |
Tarred Devices appraised from Mutated Armaments are needed to upgrade Artian Weapons into Artian Gogmazios Weapons.
