
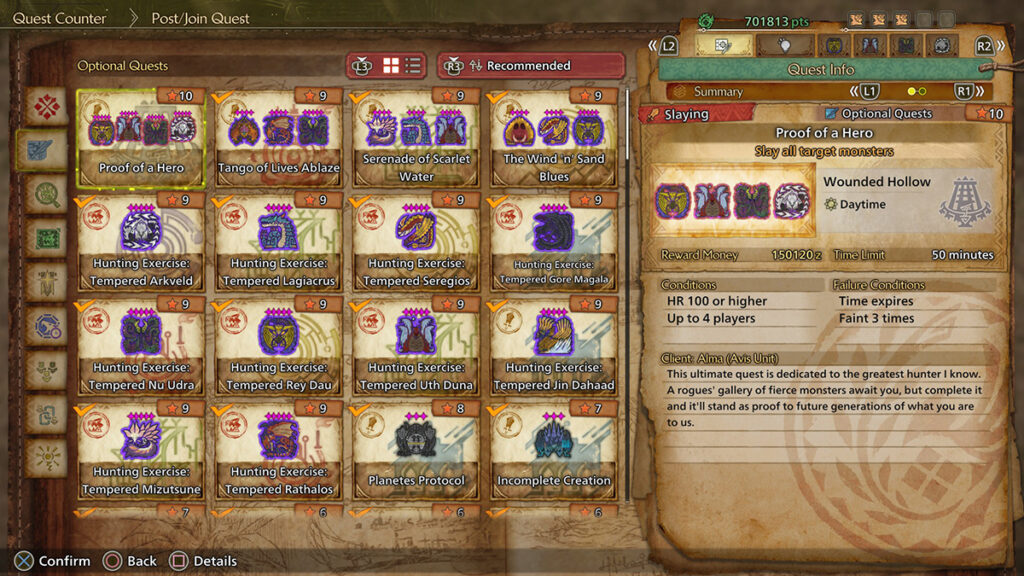
The ‘Proof of a Hero’ quest is basically Monster Hunter Wilds‘ final challenge, well, at least until the Master Rank expansion. It’s no surprise that the requirement to unlock it is no walk in the park. You will have to reach a high enough Hunter Rank and brave four optional quests before you can dip your toes into the game’s hardest quest yet.
How Can You Unlock the ‘Proof of a Hero’ Optional Quest in Monster Hunter Wilds? Answered
(Click to expand)
(Click to expand)
- Reach HR100.
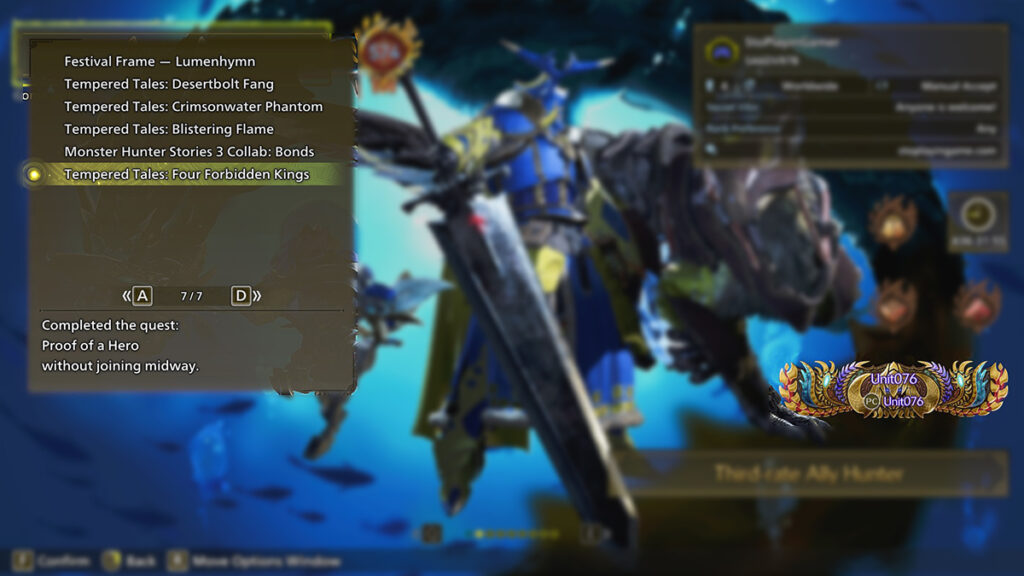
- Clear the three ★9 ‘special environment’ Optional Quests:
- Clear the ★10 Arch-Tempered Arkveld Event Quest, ‘Freedom from Solitude.’
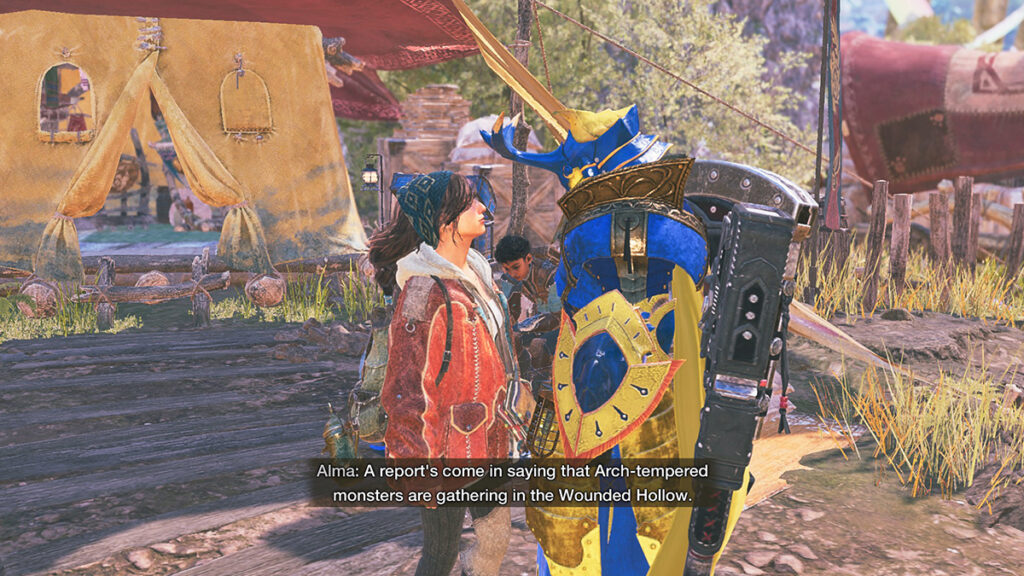
After clearing everything, talk to Alma, and the ★10 ‘Proof of a Hero’ should be available in your Optional Quests list. Keep in mind that you must complete all of those quests from start to finish. Joining mid-hunt does not count! Other Hunters need to meet requirements as well to join the quest.
Some Tips to Beat the ‘Proof of a Hero’ Optional Quest
This is easily the hardest quest in the game, but not just because ★10 monsters hit harder than usual. The real pressure comes from the 50-minute timer. If you can’t defeat the first three monsters fast enough — 10 minutes each at a minimum — then you will have a hard time defeating Arch-Tempered Arkveld.
Pre-fight Strategy
Bring Support Hunters unless you specifically want a solo or Palico-only clear. They contribute a large chunk (around 9%) of total damage across the hunt, with Fabius and Nadia seeming to outperform the standard Support Hunters. Before the fight, eat either one of these menus for their specific buffs:
- Kunafa Cuisine: Defender Meal (Hi) helps reduce damage taken, and the chances are increased with Divine Blessing.
- Sild Cuisine: Moxie Meal (Hi), prevents one-hit kill damage as long as your health is above the line. Will trigger before Lord’s Soul Guts.
- Suja Cuisine: Caprice Meal (Hi), randomly increases your attack value. Every damage buff helps.
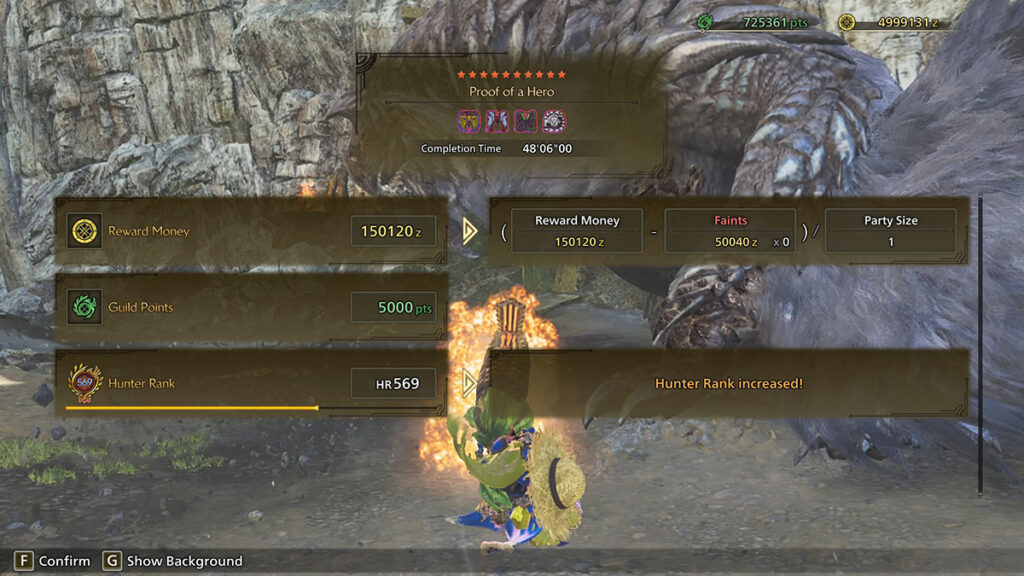
We recommend bringing Water and Dragon weapons for beating ‘Proof of a Hero’ in Monster Hunter Wilds. Water covers both Rey Dau and Nu Udra, while Dragon will be essential to shorten the final phase significantly because of Arkveld’s weakness. Blast works, but our testing with Gunlances shows Dragon clears faster overall — 48+ minutes with Water/Blast and 46+ minutes with Water/Dragon. In multiplayer, you might be able to divide elemental coverage for the first three apexes between Hunters.
Speaking of swapping weapons, Farcasters can be extremely useful here as well. Monster turf wars should give you time to swap loadouts on the Wounded Hollow Item Box. But make sure to prepare the loadout beforehand, since every second counts!
For items, you will want to bring crafting materials and place them in your radial menu so you can always restock on consumables. Flash Bombs help a lot to bring down Rey Dau and stop Uth Duna from slamming its belly all over the place. All the Arch-Tempered monsters can be immobilized with Shock and Pitfall Traps, but they cannot be captured. Guard Up Lv3 and Guard Lv2 are recommended if your weapon can block, since chip damage and knockback waste valuable uptime.
Gogmazios set with the Gogmapocalypse 4-piece bonus is still the best set you can use, thanks to its barrier. Meanwhile, a self-healing, tanky build of Arch-Tempered Arkveld’s Hunger + Lord’s Soul can be the second-best alternative, although it may be harder to craft.
Fight Strategy
This might sound counterintuitive, but do not immediately split monsters using the fence when the next one appears. It’s because monster attacks deal massive damage to each other. For example, Nu Udra’s flame breath can easily take more than 4,000 of Uth Duna’s health, saving minutes if you keep them together. Just keep situational awareness, because overlooked AOE damage is usually the main cause of carts.
Rey Dau, Uth Duna, and Nu Udra spawn from the north side while Arkveld drops from the southern slope, so reposition to avoid getting sandwiched. The next monster always appears around 30% HP.
Breaking Wounds is one of the biggest time savers in the ‘Proof of a Hero’ Monster Hunter Wilds quest. Rey Dau’s head becomes a Wound after its railgun attack and breaking it causes a stagger, while Arkveld’s chains Wound after horizontal slam attacks and the white Wylk explosion. The windows are short, though, so prioritize them immediately. Also, remember that Arkveld’s chain attacks are multi-hits this time, and staying very close to the monster during explosions is often safer than panic-dodging away.
‘Proof of a Hero’ Quest Rewards
(Click to expand)
(Click to expand)
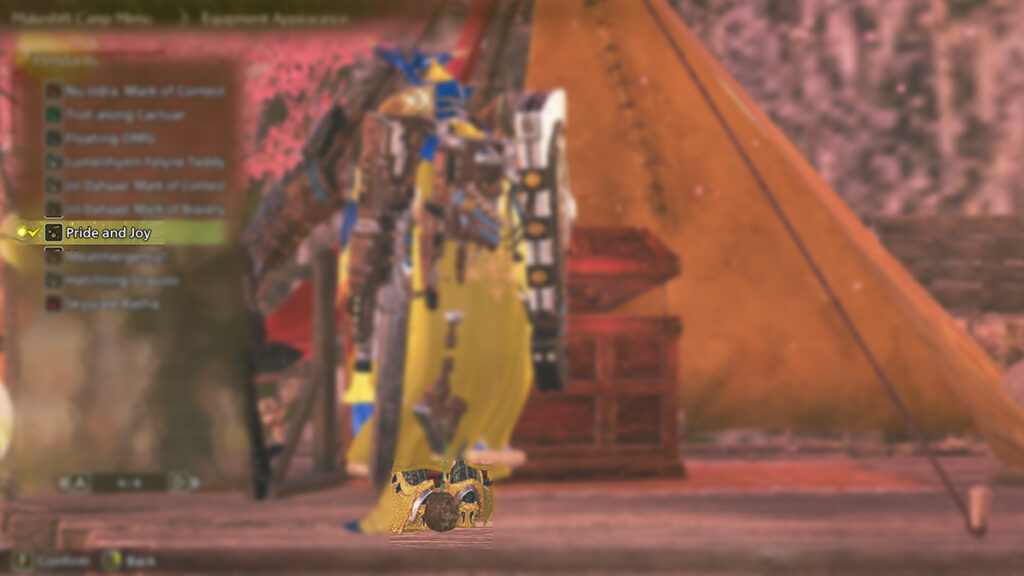
After you’ve finally taken down the battle-hardened monsters and the quest, speak to Alma again. She will impart to you one of her prized artifacts as a Pendant as a thank you.
- 150,120 Zenny.
- Timeworn Charms.
- Heavy Armor Spheres.
- Battle-tempered Emblem, used for Artian Gogmazios Weapons re-rolls and melding Mutated Armaments.
- Pride and Joy Pendant (first time).
- Tempered Tales: Four Forbidden Kings Nameplate (first time).