 for Monster Hunter Wilds")
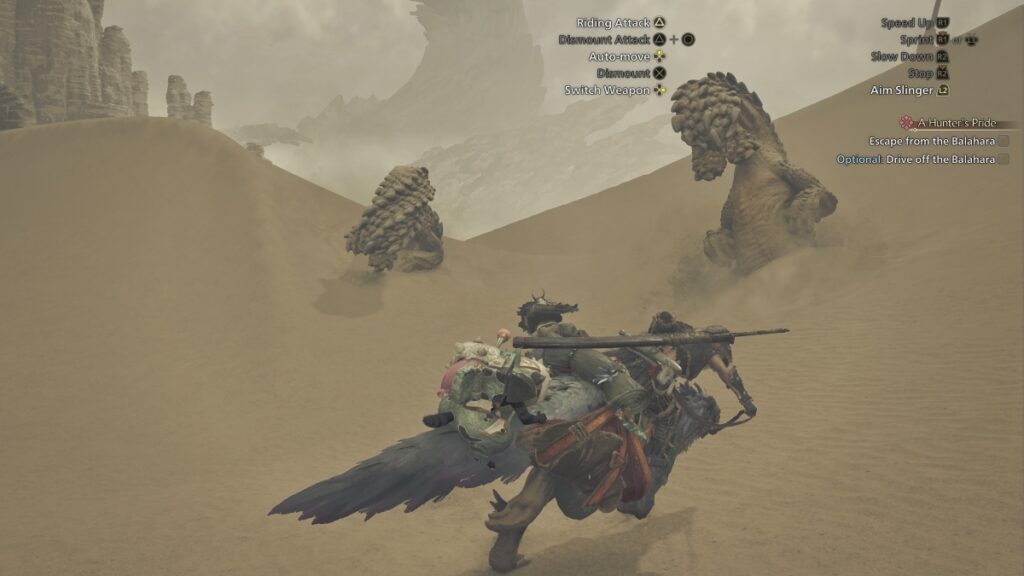
Despite being the first monster you’ll see in the game’s cutscene, it actually takes some time before you face Balahara properly. Once you do, though, you should be prepared because, while not the largest monster, it is quite deadly. It combines fast and hard-hitting attacks with elemental projectiles that can make this hunt a bit tedious. Furthermore, it can also make use of the environment to make traps for players, so overall, it is quite the encounter. Whether you’re struggling to beat Balahara in Monster Hunter Wilds or want to know what materials it drops, we have a full guide here.
Balahara Strategy
Balahara isn’t one the largest creatures in Monster Hunter Wilds, but it has some things under its sleeves that can make any hunt a bit more challenging. For starters, it is a bit more resilient than other creatures. Compared to other hunts, Balahara might be a much longer encounter, so you better be prepared. As usual, below is a strategy for melee and ranged hunters.
Melee Strategy
Melee hunters will have a harder time when fighting Balahara. This monster only has three weak points, which are its mouth, head, and tail. If you’re focusing on one part only, always go for the tail first. Balahara will often launch Waterblight projectiles, but it is easy to know when it will launch them. For that reason, getting rid of the drill-like tail should be a priority. Also, severing it will give you an extra monster part, so that’s a nice incentive.
Other than that, Thunder and Paralysis weapons are great for this fight. Since Balahara is fast and can dive into the sand, slowing it down with the aforementioned elements will help you a lot.
Lastly, since you’ll be fighting it on the sand, Balahara can create quicksand with some attacks. When this happens, you’ll get sucked in and become slow. If this happens, call your Seikret before getting sucked in to escape. This tactic has worked every single time, so make use of your Seikret if the terrain is working against you.
Ranged Strategy
On the other hand, ranged hunters in Monster Hunter Wilds might have an easier time when facing Balahara. You could also focus on its tail, but since you’re fighting from afar, it is better to focus on Balahara’s mouth. This is what it uses to launch Waterblight, and getting hit once will inflict the said effect on you. If so, use a Nulberry to counter the Waterblight.
Other than that, also bring Thunder or Palysis ammo. This will work a lot, especially since Balahara will move around the whole area. The challenging part of the fight is when Balahara moves to the dunes. Due to the vertical environment, fighting might be harder for ranged hunters. If that’s the case, always try to position yourself at the highest dune and shoot from there. This is the only place where things get complicated, but after that, the fight should be straightforward for ranged users.
Weak Points and Elemental Weaknesses
Balahara doesn’t have many weak points, but it doesn’t have a lot of protection either, so raw damage is a good option here. If not, here are the elements and status effects that work on it:
- Recommended Elemental Attack: Thunder.
Effective Status Effects
| Status | Effectiveness |
| Poison | 2 Stars |
| Sleep | 2 Stars |
| Paralysis | 3 Stars |
| Blastblight | 2 Stars |
| Stun | 3 Stars |
| Exhaust | 2 Stars |
- Effective Items: Flash Pod, Shock Trap, and Pitfall Trap.
Weakness Per Monster Part
| Slash Damage | Blunt Damage | Pierce Damage | Fire | Water | Thunder | Ice | Dragon | |
| Head | 3 Stars | 4 Stars | 3 Stars | 1 Star | Immune | 2 Stars | 1 Star | 1 Star |
| Neck | 1 Star | 4 Stars | 3 Stars | 1 Star | Immune | 2 Stars | 1 Star | 1 Star |
| Torso | 2 Stars | 3 Stars | 2 Stars | 1 Star | Immune | 1 Star | 1 Star | 1 Star |
| Left Foreleg | 3 Stars | 3 Stars | 2 Stars | 1 Star | Immune | 2 Stars | 1 Star | 1 Star |
| Right Foreleg | 3 Stars | 3 Stars | 2 Stars | 1 Star | Immune | 1 Star | 1 Star | 1 Star |
| Left Hind Leg | 2 Stars | 2 Stars | 2 Stars | 1 Star | Immune | 1 Star | 1 Star | 1 Star |
| Right Hind Leg | 2 Stars | 2 Stars | 2 Stars | 1 Star | Immune | 1 Star | 1 Star | 1 Star |
| Tail | 3 Stars | 3 Stars | 3 Stars | 2 Stars | Immune | 1 Star | 1 Star | 1 Star |
Spawn Zones and Variants
Balahara will only spawn in the Plains habitat of Monster Hunter Wilds, as this is the only area where it can use sand to create traps and move around the map. Also, you’ll find it in both its normal and Tempered variants. If you’re already at High Rank, we recommend fighting Tempered Balahara. However, its moves and projectiles are much faster and deadlier, so be prepared before engaging.
Loot Table
Below is a Loot Table of every material you can obtain from Balahara.
Low Rank Loot Table
| Target Rewards | Broken Part Rewards | Carving | Wound Destroyed | |
| Lala Barina Claw | 11% | Left Claw: 100% Right Claw: 100% | 15% | N/A |
| Lala Barina Floert | 20% | N/A | 33% | 45% |
| Lala Barina Stinger | 8% | Petals: 100% | 11% | N/A |
| Lala Barina Shell | 20% | N/A | 23% | 43% |
| Lala Barina Mucus | 15% | N/A | 18% | 12% |
| Monster Fluid | 18% | N/A | N/A | N/A |
| Lala Barina Certificate | 8% | N/A | N/A | N/A |
High Rank Loot Table
| Target Rewards | Broken Part Rewards | Carving | Wound Destroyed | |
| Lala Barina Claw+ | 11% | Left Claw: 100% Right Claw: 100% | 15% | N/A |
| Lala Barina Floert+ | 20% | N/A | 33% | 45% |
| Lala Barina Stinger+ | 8% | Petals: 100% | 11% | N/A |
| Lala Barina Carapace | 20% | N/A | 23% | 43% |
| Lala Barina Mucus+ | 15% | N/A | 18% | 12% |
| Monster Broth | 18% | N/A | N/A | N/A |
| Lala Barina Certificate S | 8% | N/A | N/A | N/A |
Craftable Items
To wrap this guide up, here’s what you can craft after obtaining Balahara parts.
| Item | Parts | Perks |
| Armor Set (Low Rank) | Balahara Scale x6 Balahara Skull x3 Balahara Shell x4 Balahara Tail x2 Balahara Black Pearl x1 Balahara Certificate x1 | Hunger Resistance Lv 1 x1 Quick Sheathe Lv 1 x1 Evade Extender Lv 1 x3 Scaling Prowess (Group Skill) |
| Armor Set (High Rank/Alpha & Beta) | Balahara Certificate S x3 Balahara Caparace x6 Balahara Skull+ 4 Balahara Scale+ x6 Balahara Tail x1 Balahara Black Pearl x1 Monster Keenbone x1 Torrent Sac x1 | Evade Window Lv 1 x2 Geologist Lv 1 x3 Stamina Surge Lv 1 x2 Evade Extender Lv 1 x3 Evade Window Lv 1 x1 Scaling Prowess (Group Skill) Scale Layering (Group Skill) |
| Balahara Hammer (Hammer/Water) | Balahara Hammer I Balahara Scale x3 Balahara Skull x1 Aqua Sac x1 Balahara Hammer II Guardian Doshaguma Claw x1 Balahara Shell x2 Balahara Tail x1 Balahara Hammer III Balahara Certificate S x2 Balahara Skull+ x2 Torrent Sac x2 Balahara Black Pearl x1 Balahara Hammer IV Uth Duna Certificate S x3 Balahara Carapace x5 Wyvern Gem x1 Sandsea Siamitiya Hunter Symbol I x5 Balahara Scale+ x6 Uth Duna Watergem x1 | Balahara Hammer I Slugger Lv 1 Balahara Hammer II Slugger Lv 2 Balahara Hammer III Slugger Lv 2 Balahara Hammer IV Slugger Lv 3 Sandsea Siamitiya Slugger Lv 3 |
| Balahara Horn (Hunting Horn/Water) | Balahara Horn I Balahara Scale x3 Balahara Skull x1 Aqua Sac x1 Balahara Horn II Guardian Doshaguma Claw x1 Balahara Shell x2 Balahara Tail x1 Balahara Horn III Balahara Certificate S x2 Balahara Skull+ x2 Torrent Sac x2 Balahara Black Pearl x1 Balahara Horn IV Uth Duna Certificate S x3 Balahara Carapace x5 Wyvern Gem x1 Sandsea Ghantisil Hunter Symbol I x5 Balahara Scale+ x6 Uth Duna Watergem x1 | Balahara Horn I Slugger Lv 1 Balahara Horn II Slugger Lv 2 Balahara Horn III Slugger Lv 2 Balahara Horn IV Slugger Lv 3 Sandsea Ghantisil Slugger Lv 3 |
| Balahara Exploder (Gunlance/Water) | Balahara Exploder I Balahara Scale x3 Balahara Skull x1 Aqua Sac x1 Balahara Exploder II Guardian Doshaguma Claw x1 Balahara Shell x2 Balahara Tail x1 Balahara Exploder III Balahara Certificate S x2 Balahara Skull+ x2 Torrent Sac x2 Balahara Black Pearl x1 Balahara Exploder IV Uth Duna Certificate S x3 Balahara Carapace x5 Wyvern Gem x1 Sandsea Visponan Hunter Symbol I x5 Balahara Scale+ x6 Uth Duna Watergem x1 | Balahara Exploder I Offensive Guard Lv 1 Balahara Exploder II Offensive Guard Lv 2 Balahara Exploder III Offensive Guard Lv 2 Balahara Exploder IV Offensive Guard Lv 3 Sandsea Visponan Offensive Guard Lv 3 |